Import from Figma
You can export a design from Figma as an SVG file and import it as a React component in Remotion and then animate it.
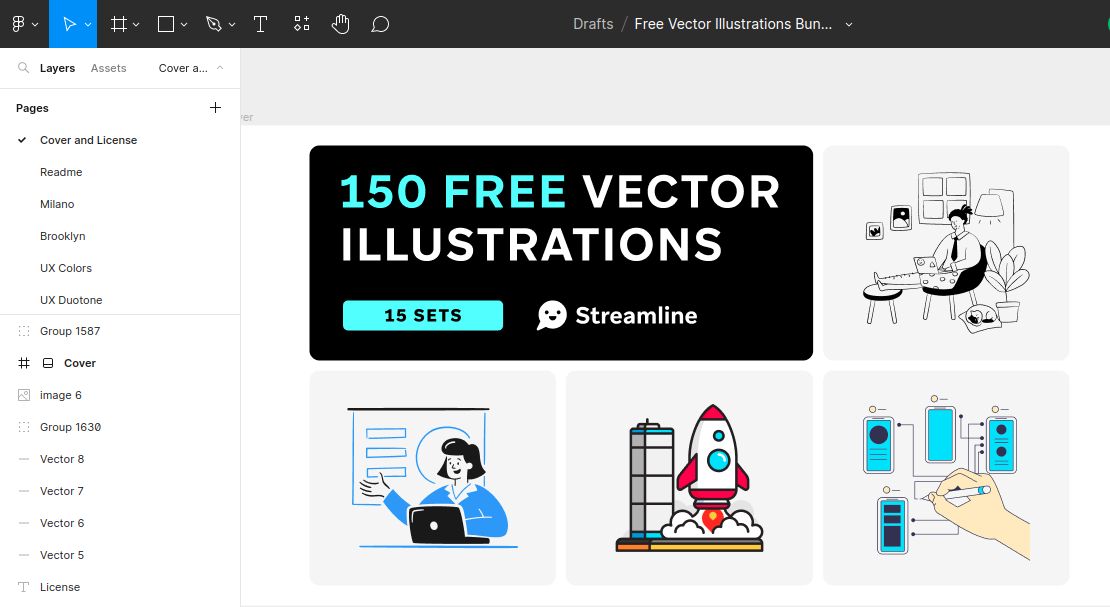
Open the Figma design
We are going to use a copy of Streamline's Vector illustrations.
Grouping vector elements in Figma
If not already done, group the items you want to export together or frame them in Figma.
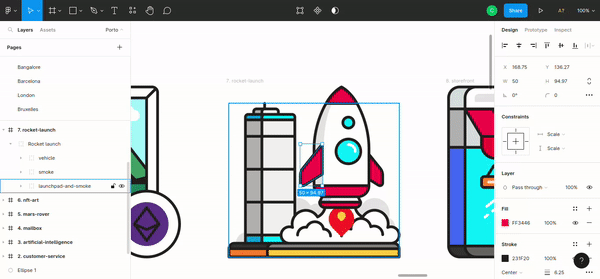
Groups will be represented as <g> elements in SVG and if you want to animate multiple items together, it can be useful to group them.
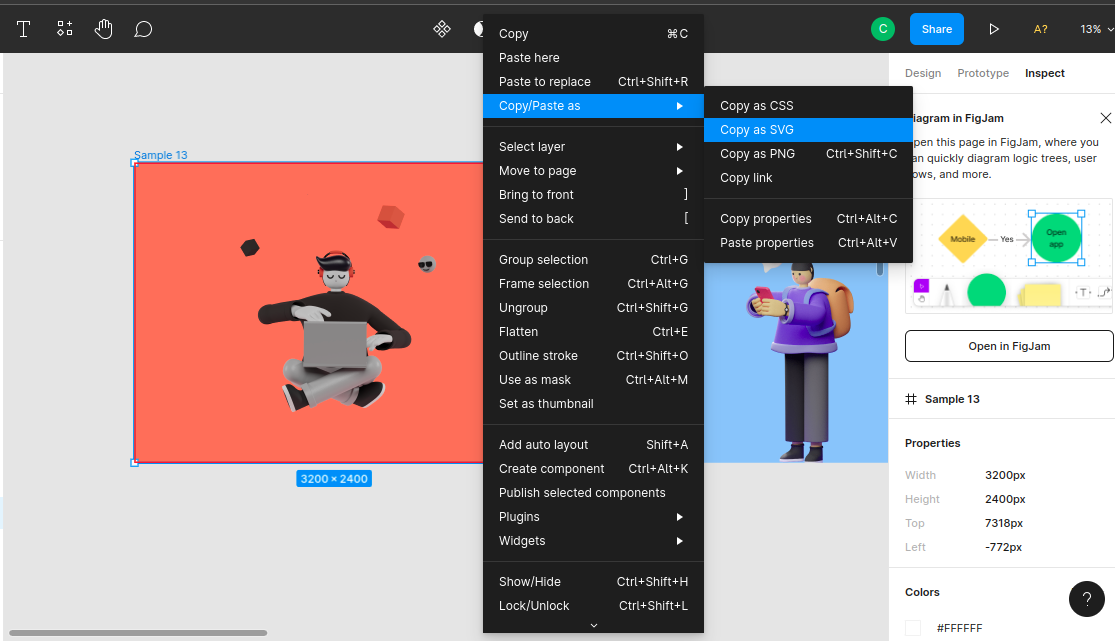
Export as SVG
You can export any design by copying it as SVG markup — you can do that by right-clicking on the design itself and selecting the Copy/Paste as option.
Next, you need to convert the SVG into a React component. Often, you can just paste the SVG into React markup and it will work.
Alternatively, use the SVGR playground to reliably convert SVG into React components.
Importing SVG in Remotion
Paste the component into a Remotion project and register a <Composition>.
An example can be found in this repository.
Animate SVG markup
Locate the element that you want to animate and add a style property to it.
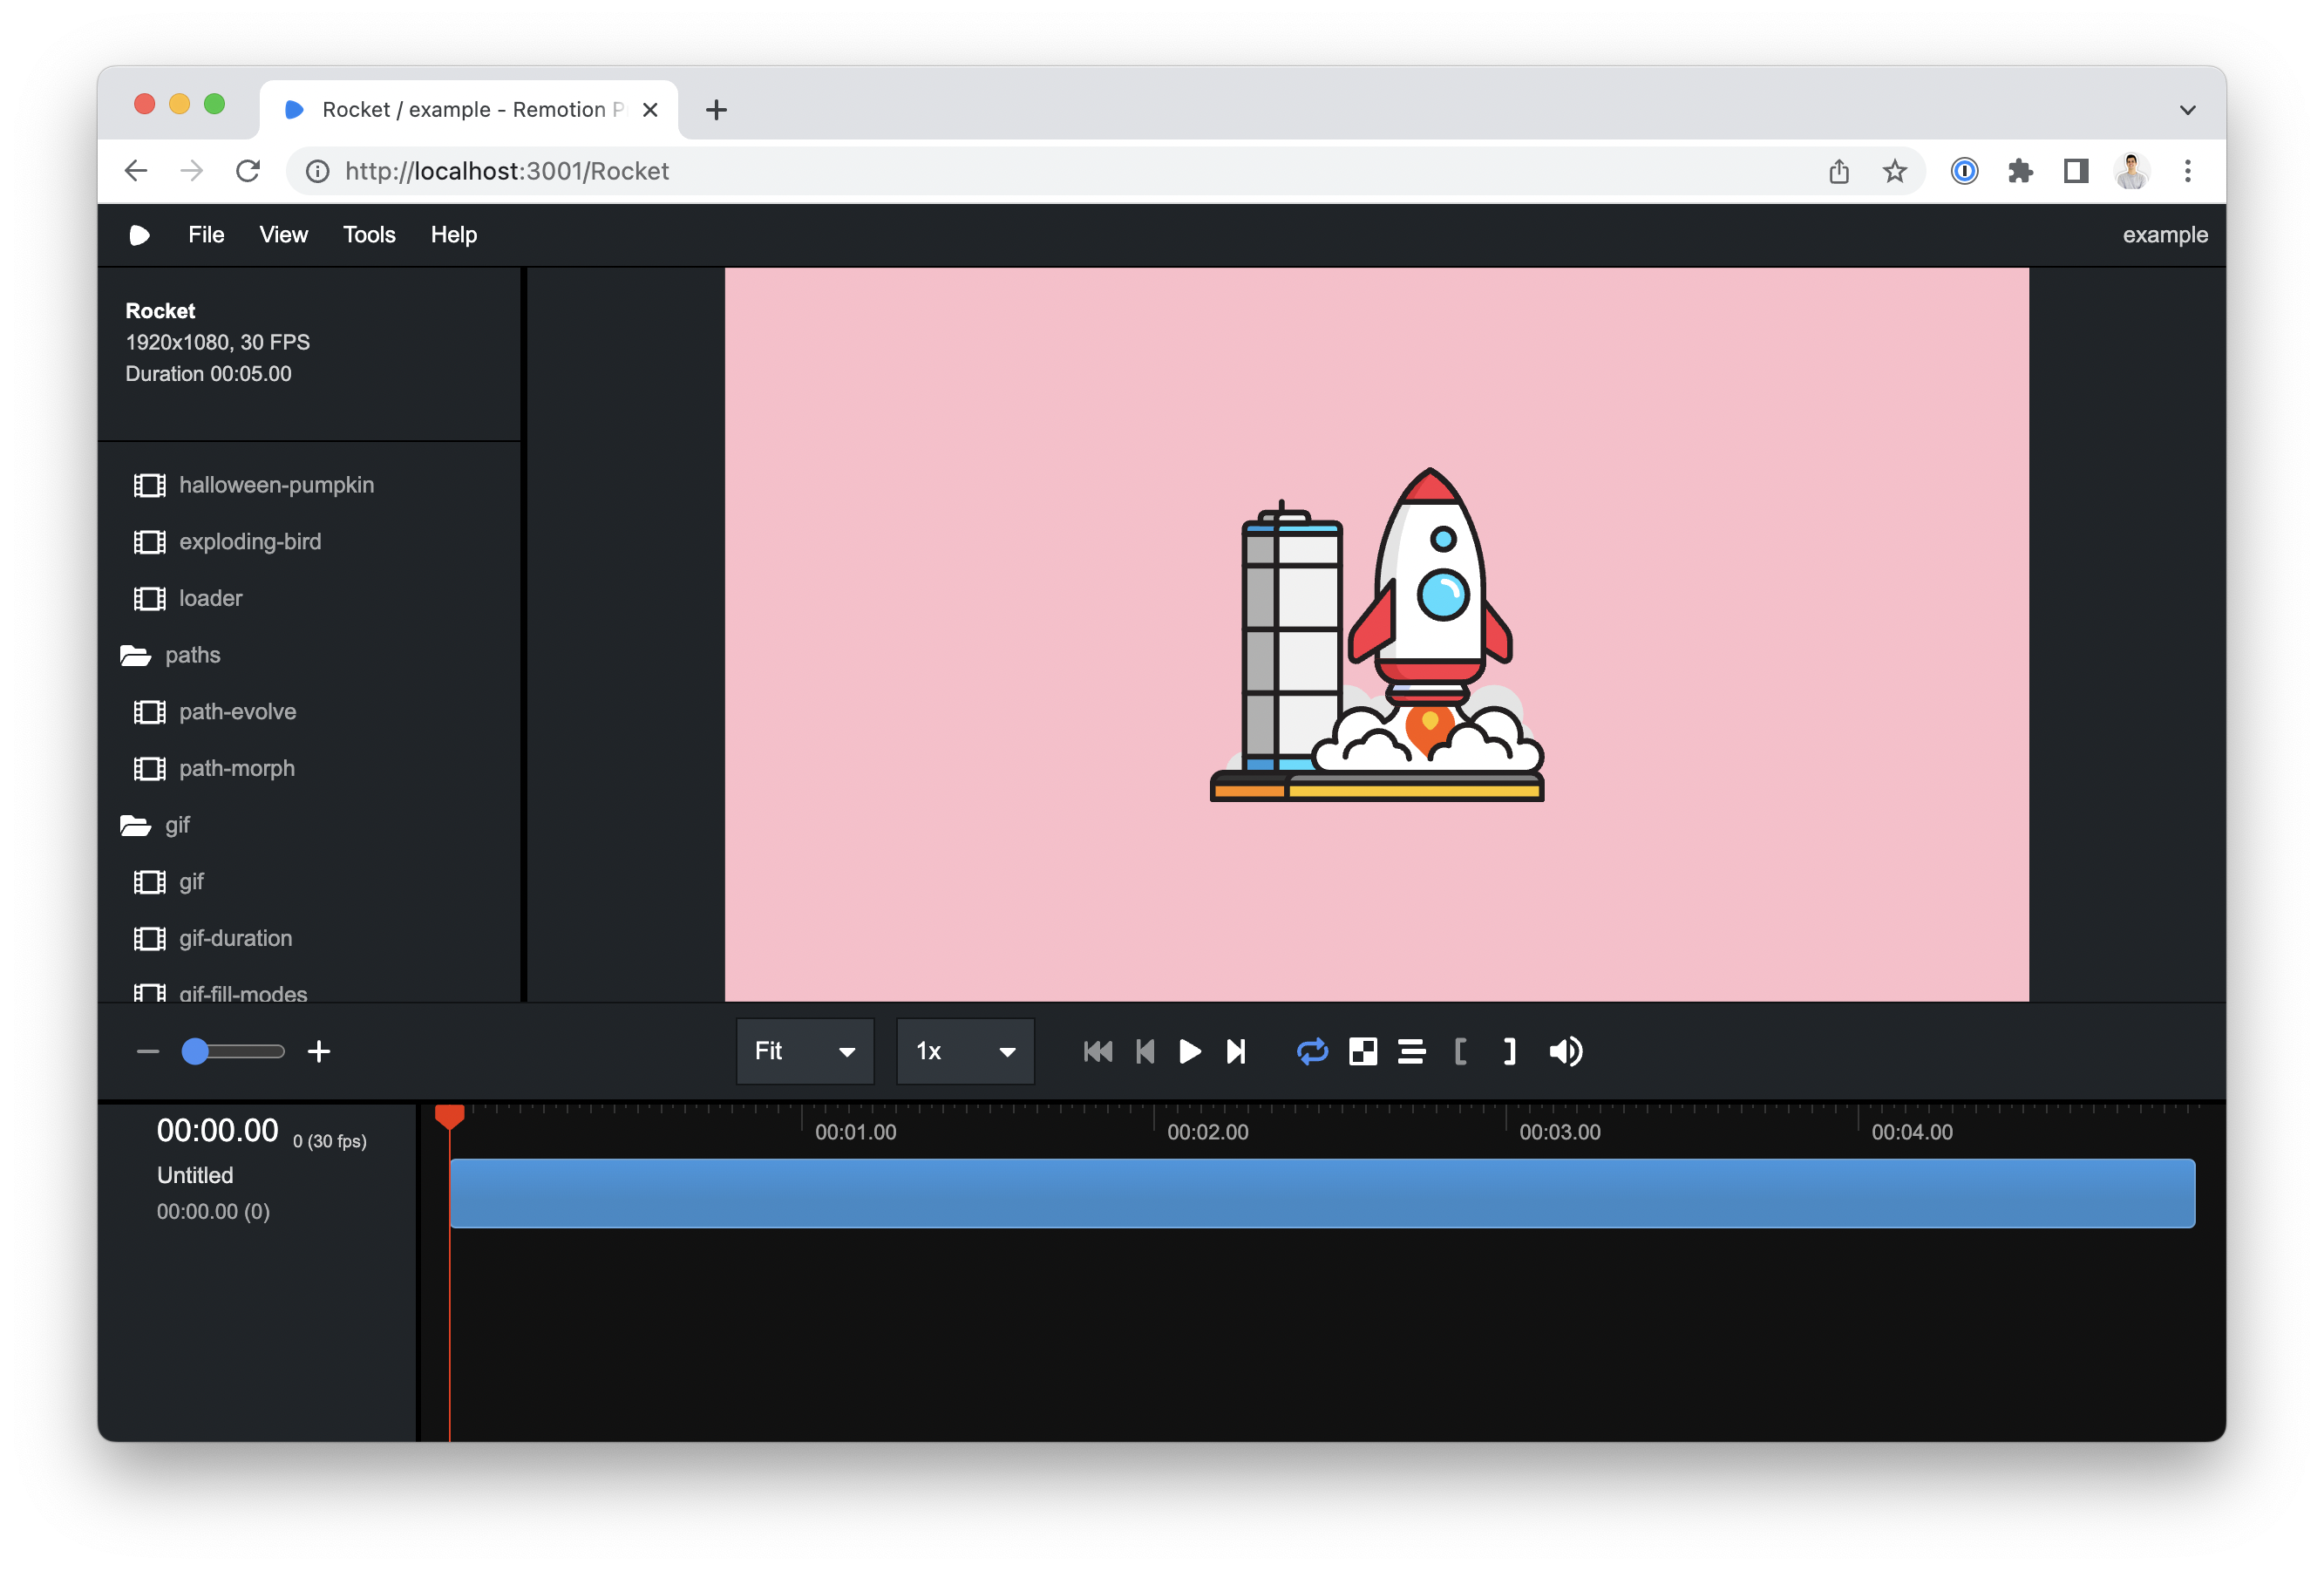
In this case, let's animate the <g> element that contains the rocket.
import { AbsoluteFill , useCurrentFrame , useVideoConfig } from "remotion";
export const Rocket : React .FC = () => {
const frame = useCurrentFrame ();
const { fps } = useVideoConfig ();
return (
<AbsoluteFill
style ={{
backgroundColor : "pink",
justifyContent : "center",
alignItems : "center",
}}
>
<svg
width ="800"
height ="800"
viewBox ="0 0 394 394"
fill ="none"
xmlns ="http://www.w3.org/2000/svg"
>
<g
id ="vehicle"
style ={{
transformOrigin : "center center",
transformBox : "fill-box",
}}
>
// vehicle's paths
</g >
</svg >
</AbsoluteFill >
);
};Adding {transformOrigin: "center center", transformBox: "fill-box"} will ensure that the transformations center is it's own center.
Let's create two spring animations, one for scale and one for transformation:
const up = spring ({
fps ,
frame : frame - 20,
config : {
damping : 20,
mass : 15,
},
});
const scale = spring ({
fps ,
frame ,
config : {
stiffness : 200,
},
});
const launch = `translateY(${interpolate (up , [0, 1], [0, -3000])}px)`;The scale will go from 0 to 1 and launch animates from 0 to -3000px. Apply the styles to the element:
<g
id="vehicle"
style={{
transform: `scale(${scale}) ${launch}`,
transformOrigin: "center center",
transformBox: "fill-box",
}}
>
{/* ... */}
</g>
You have animated a rocket! 🚀